Required tools and materials
Before you start replacing the saw blade, please prepare the following tools:
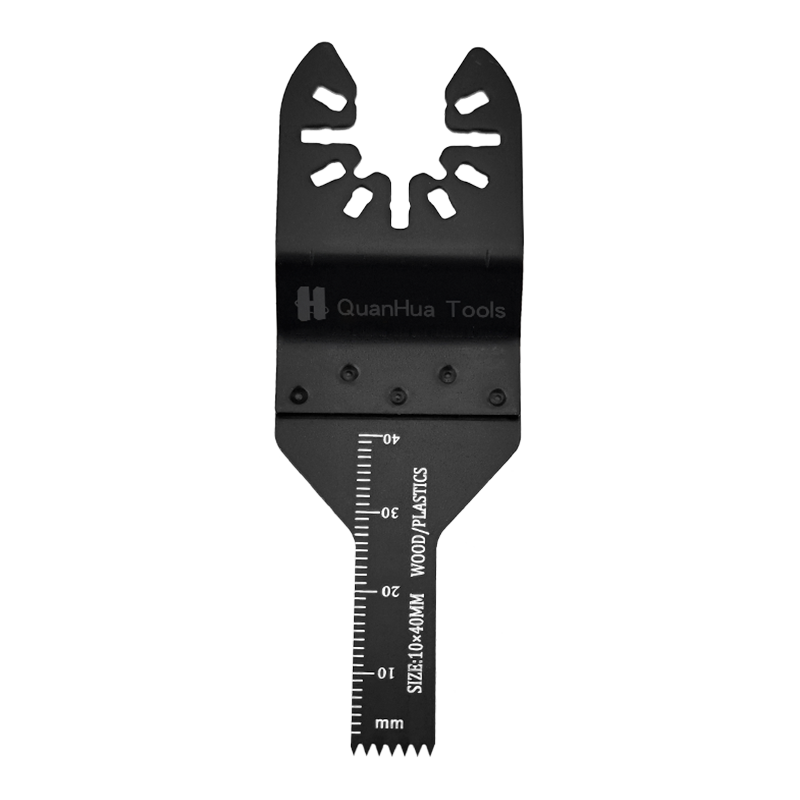
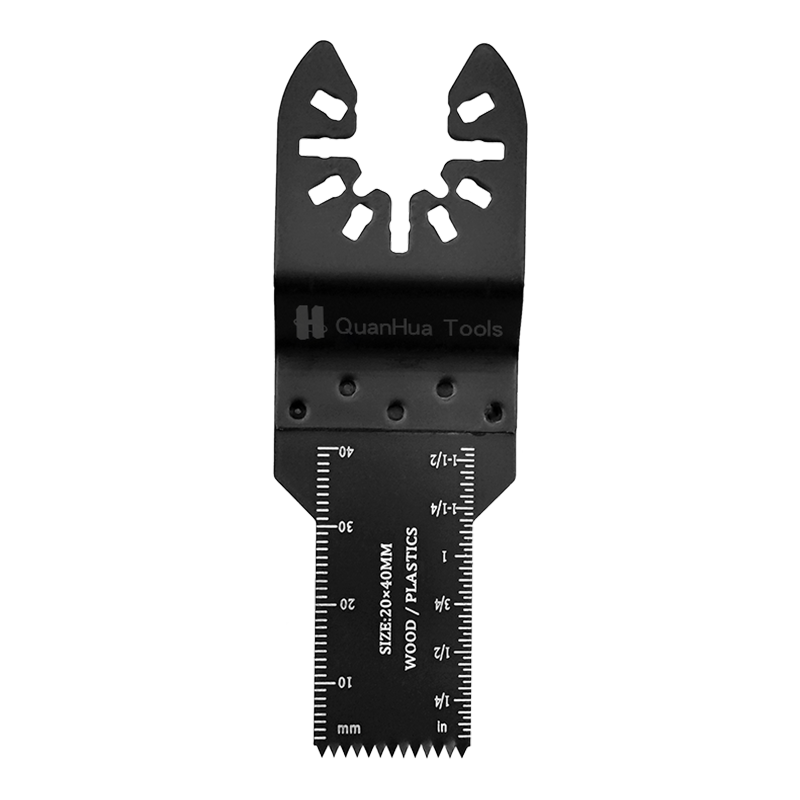
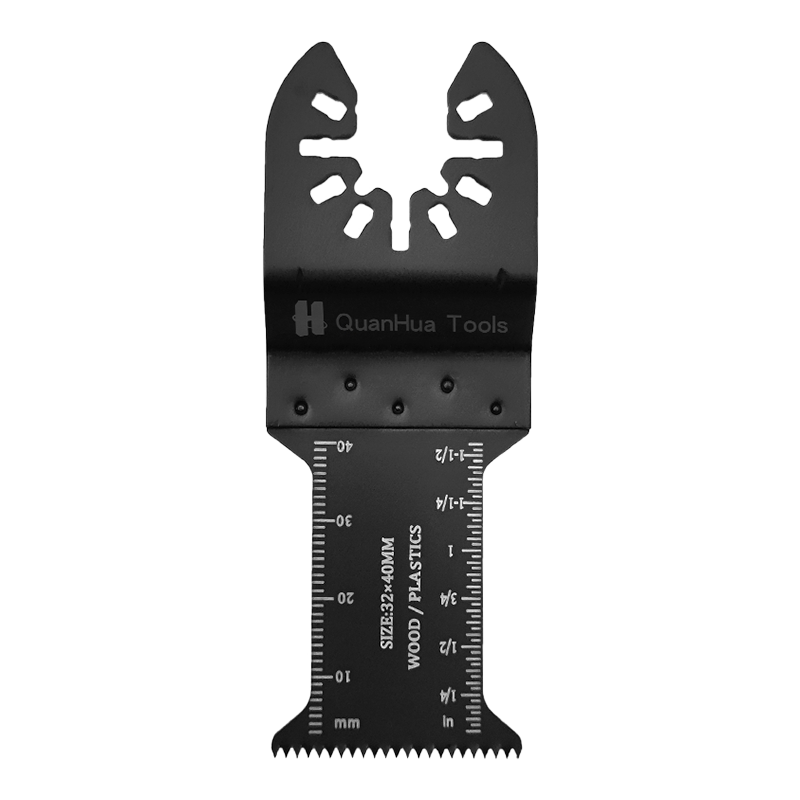
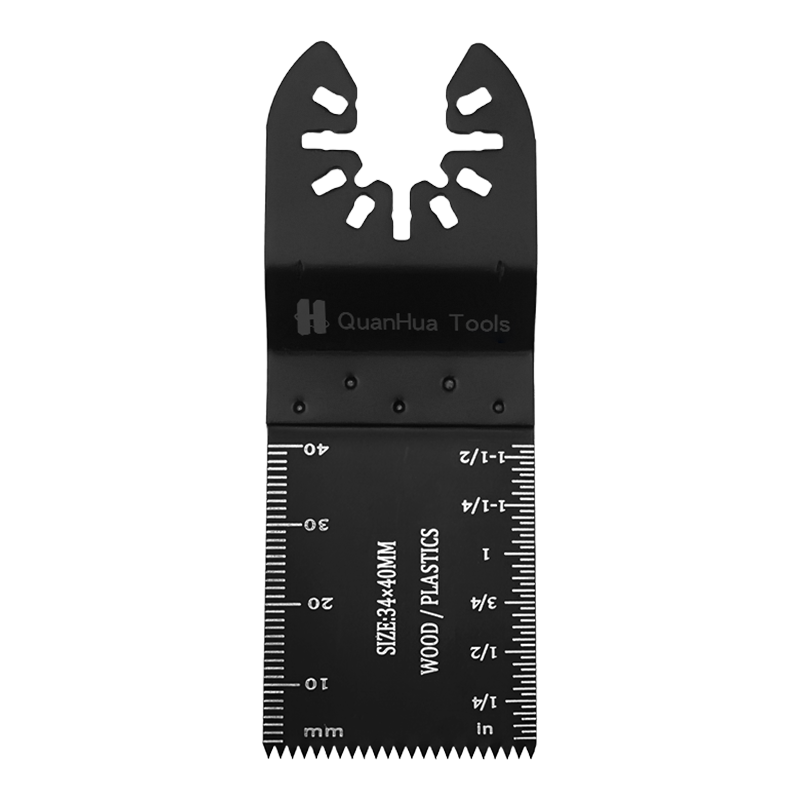
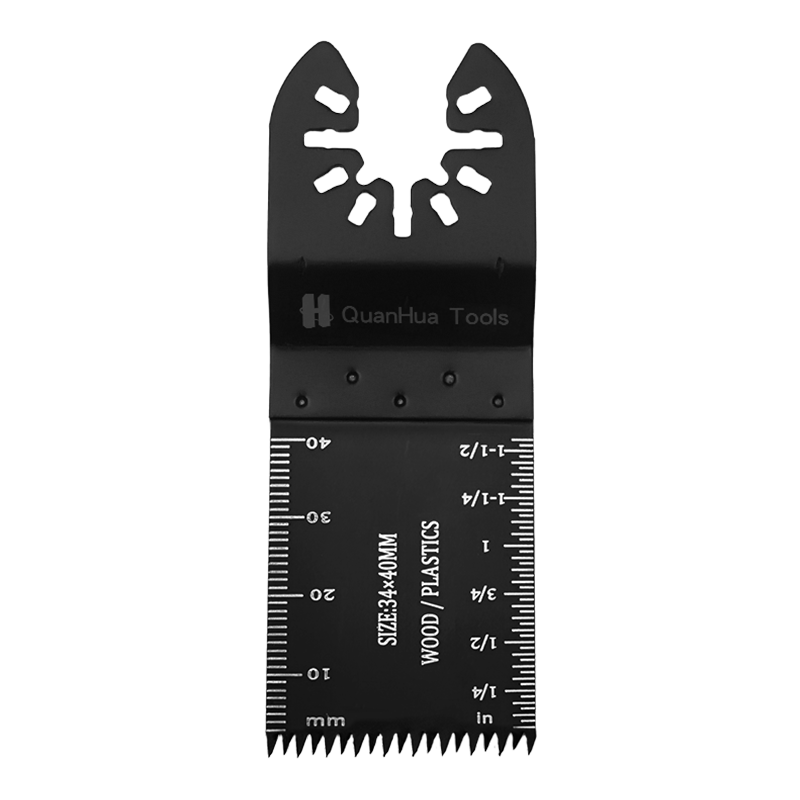
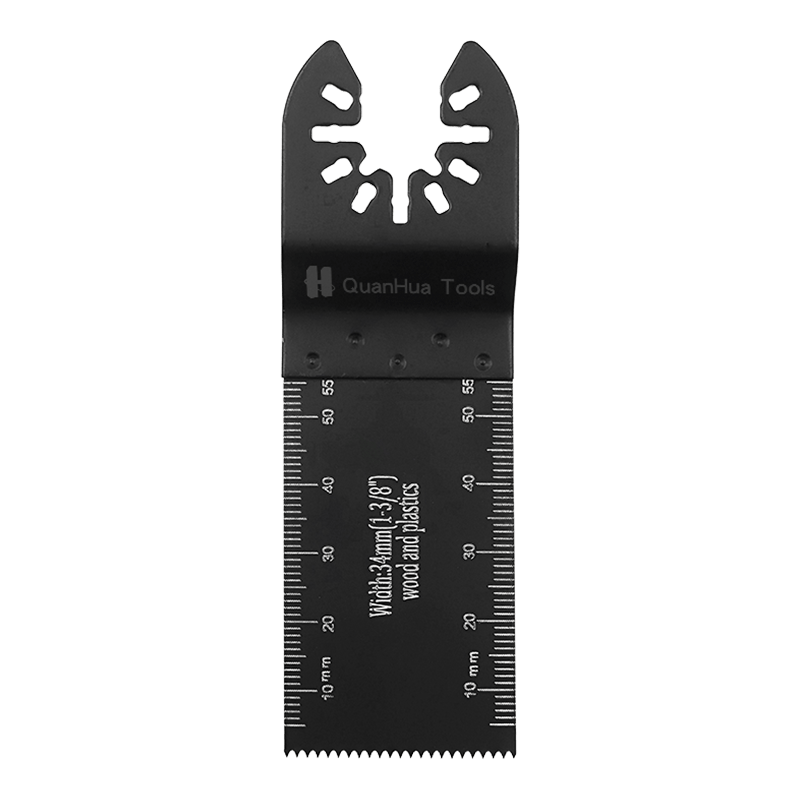
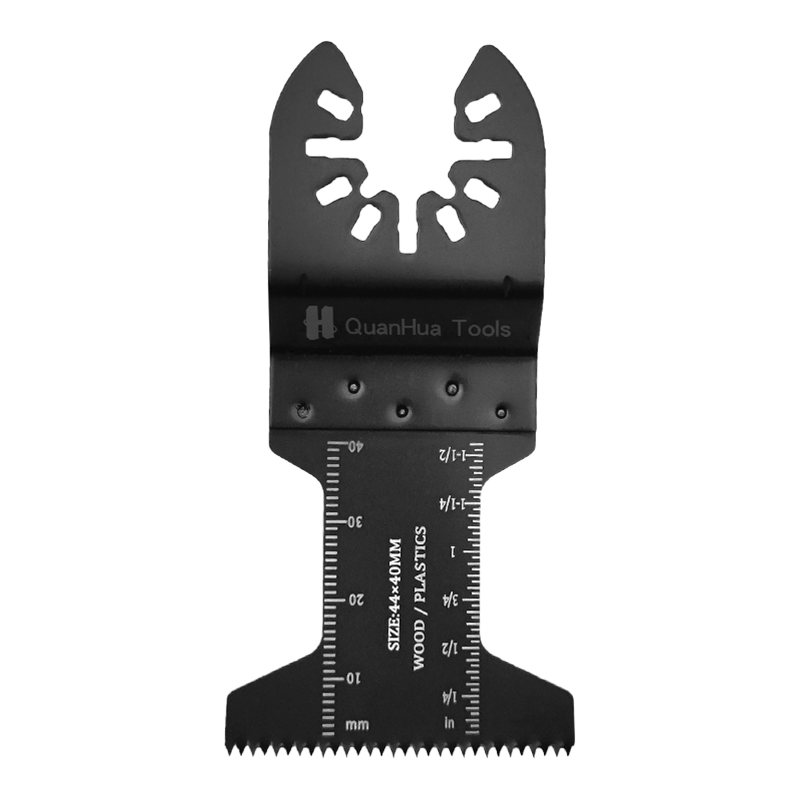
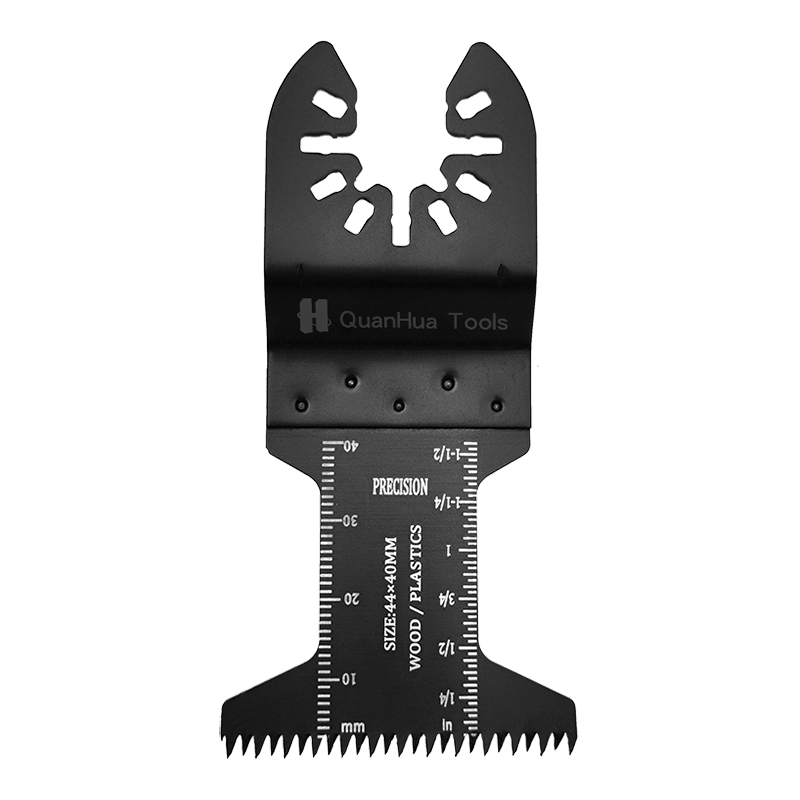
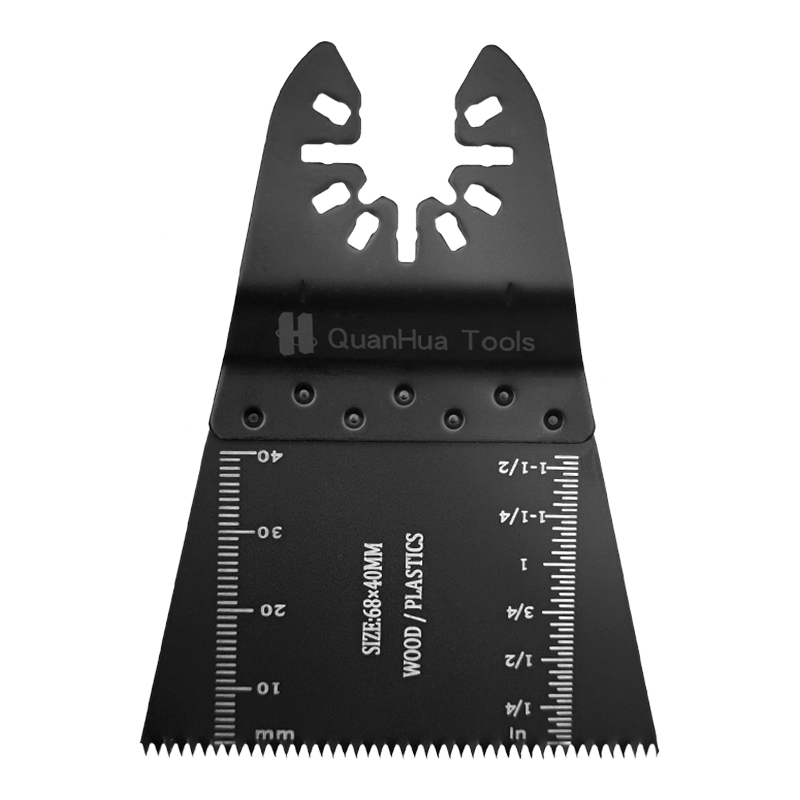
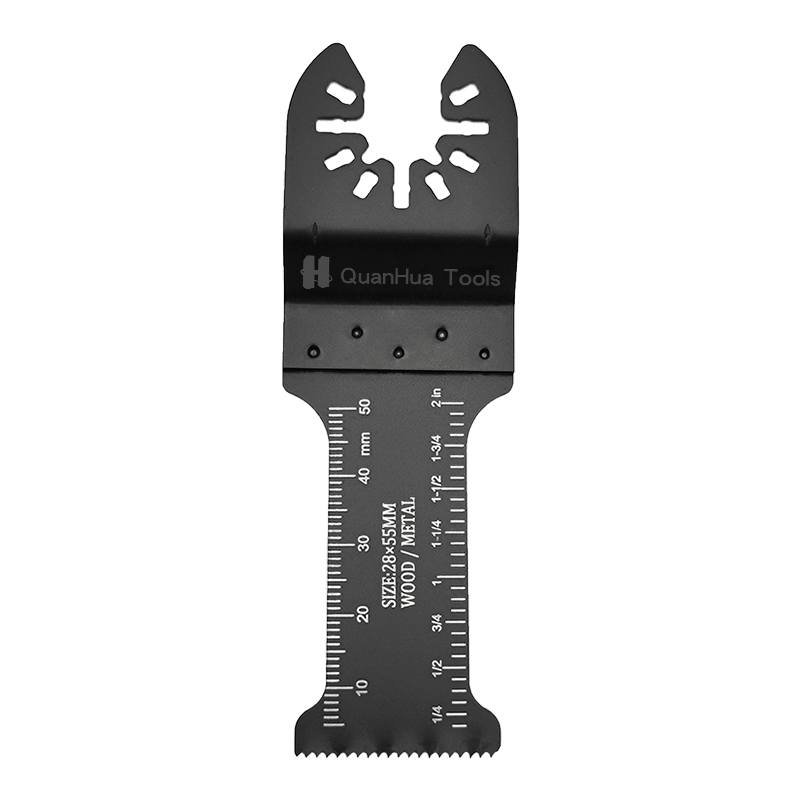
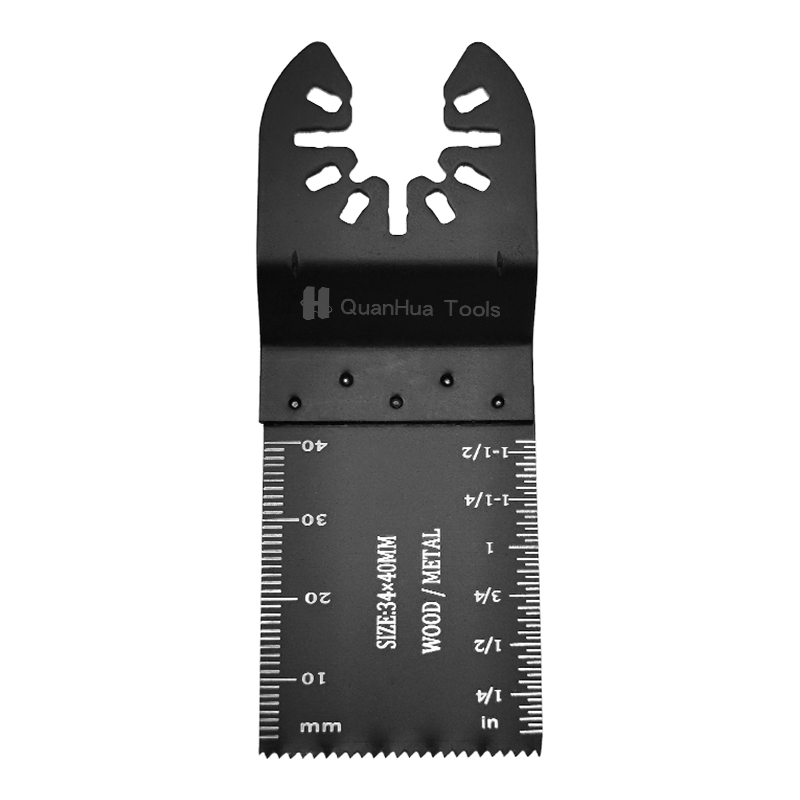
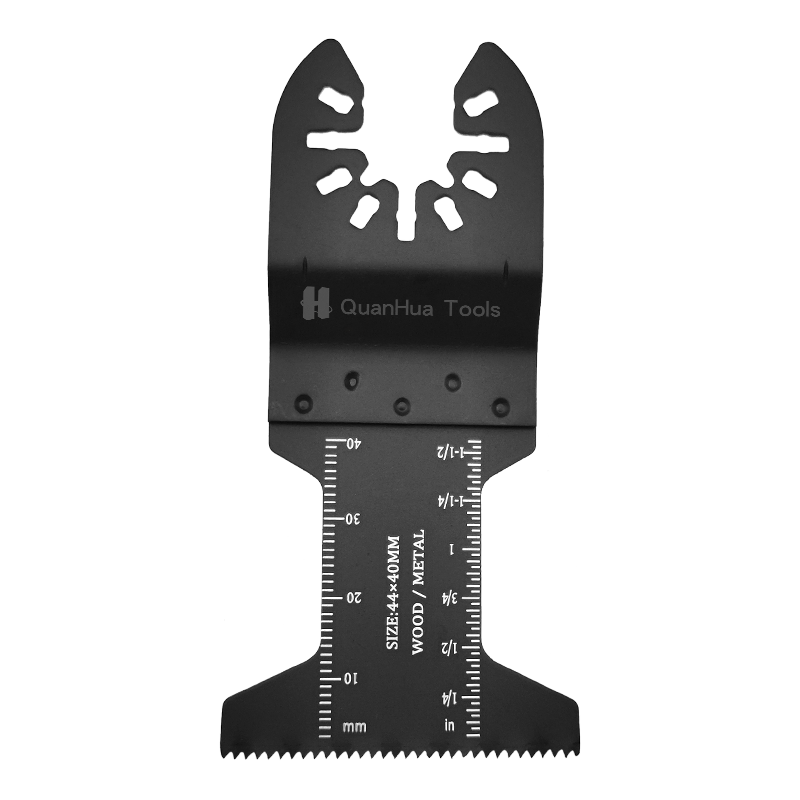
New garden saw blade
Please purchase a new saw blade with matching size and interface according to the saw model you are using.
Common sizes are 240mm, 300mm, 350mm, etc. Pay attention to the direction of the saw teeth (pull saw or push saw).
Screwdriver (mostly cross or hexagon)
Used to loosen and tighten the saw blade fixing screws.
Cut-resistant gloves
The saw blade is sharp. To avoid cuts, wear protective gloves before operation.
Small brush or dry rag
Remove wood chips, iron filings or rust in the saw groove.
Lubricating oil or anti-rust oil (optional)
Spray a little anti-rust oil after installation to extend the life of the saw blade.

Detailed explanation of replacement steps
Step 1: Turn off the power and confirm safety (applicable to electric saws)
If you are using an electric garden saw, you must first disconnect the power supply or remove the battery to ensure that there is no accidental start during operation.
Users of manual saws can skip this step directly.
Step 2: Wear gloves and prepare for disassembly
The edges of gardening saw blades are sharp, especially pruning saws with fine teeth, which can easily scratch your fingers.
It is recommended to use gardening gloves with non-slip palms to increase operating stability.
Step 3: Remove the old saw blade
Find the fixing device of the saw blade: usually located at the junction of the saw handle and the saw body.
Use a screwdriver to unscrew the screws. Some styles may use a buckle or knob structure.
Gently remove the saw blade, and be careful not to let the teeth scratch your hands during the process.
If you encounter rust or jamming, spray a small amount of rust remover first, let it stand for 3 to 5 minutes before trying to disassemble.
Step 4: Clean the saw groove and interface
Use a brush or dry cloth to thoroughly clean the dust, wood chips, and old saw tooth residues at the connection of the saw body.
If there is rust on the saw handle, use sandpaper to gently polish it to keep the interface flat for easy installation of the new blade.
Step 5: Install the new saw blade
Align the interface and put the new saw blade into the saw groove.
Pay attention to the direction of the saw teeth:
Pull saw (Japanese-style saw) has teeth facing the handle.
Push saw (traditional European and American) has teeth facing the saw head.
After installation, tighten the screws with a screwdriver or re-lock the buckle.
Check whether the saw blade is firmly installed and there is no shaking.
Step 6: Test run
For hand saws, you can test saw on a wooden board or dead branches to check whether the cutting is smooth.
For electric saws, reinstall the power supply or battery, run it briefly for a few seconds under no-load condition, and observe whether there is any abnormal sound, shaking or friction.

